Courtesy of the guys at www.slidewaysonline.com
As always if you have any suggestions for other well put together DIY email me at rytis@rtsauto.com
I also have another guide up for swapping auto to manual.
To put it bluntly, this is not an easy task. Our swap (Viet and I) took roughly 7 hours not including pedal installation and removal of the manual parts from the donor. This was also done in a shop with pneumatics and lifts so our job was considerably easier than the average at-home mechanic.
Parts Needed:
Drive shaft (MUST be from the manual car with your engine. IE M42 drive shafts are longer than M20 drive shafts)
Master cylinder
Slave cylinder
Transmission
Clutch and related parts (flywheel, bearings, etc)
Clutch lines
Clutch pedal set
Tools Needed:
Everyone one you can get
Inverted torx bit set
Before you begin – Truths about the manual swap:
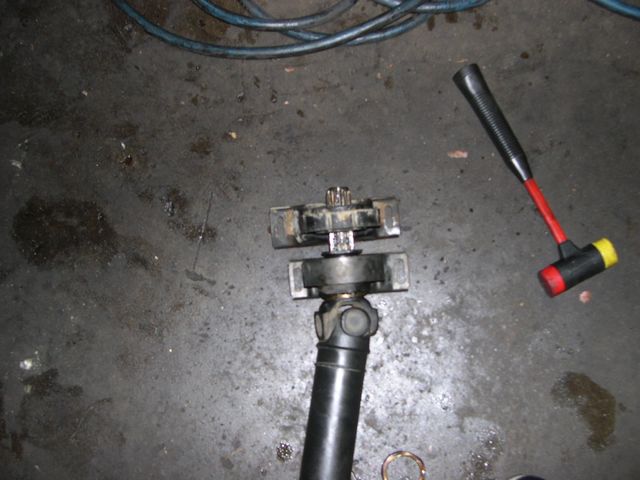
Center support bearings:
Diving board (early) and plastic bumper (late) model cars have different CSBs. Make sure you have the appropriate one.
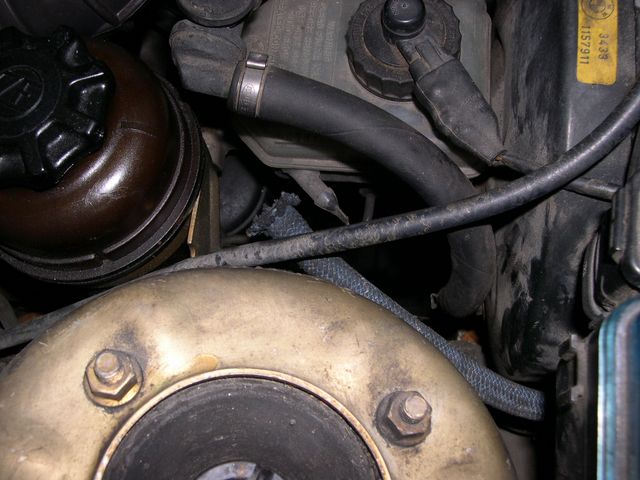
Brake reservoir:
You do not need a different one. Notice that there is a capped off nipple on the automatic res. Just cut off and attach the line.
Drive shafts:
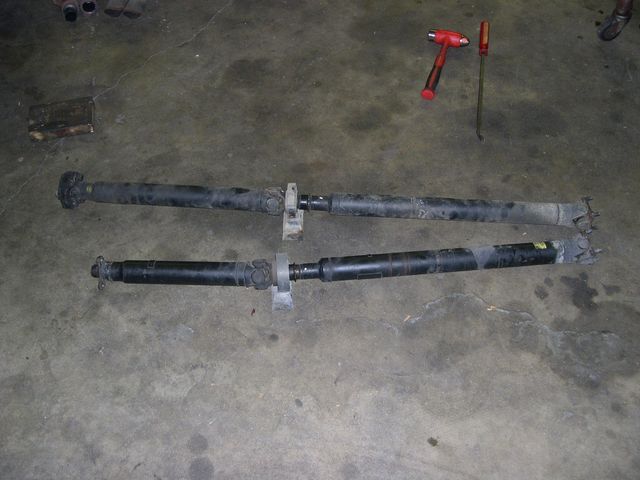
The automatic drive shaft is significantly shorter than the manual one. Any manual drive shaft will do, they are basically all the same.
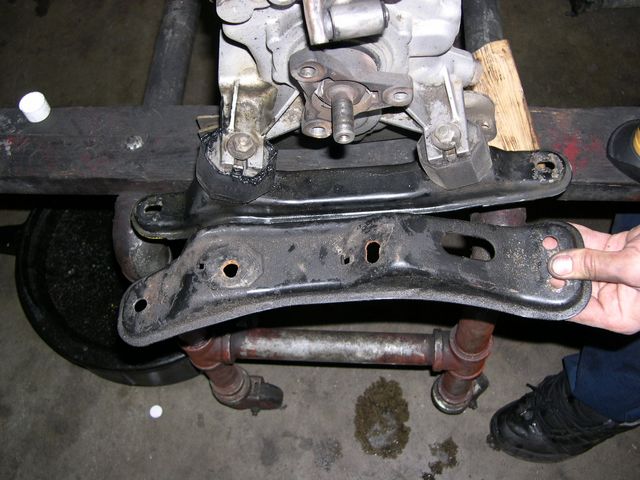
Transmission mount brace:
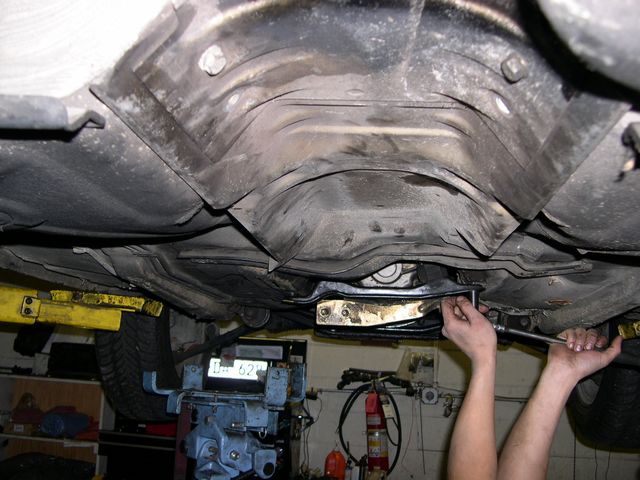
The automatic and manual braces are very different. Pictured are the differences that you can see.
Lets start with the swap!
Pedal set removal/installation:
Unfortunately we did not get pictures of this but the installation is fairly straight forward. There are 4 bolts on the back of the pedal set that encircle the master cylinder and two above the pedals. Once these are out, the master cylinder is out, and the clutch spring is taken out, the pedal set should come out. I have heard that you can simple take the peg out that holds the brake/clutch pedals and they come out but I have not done this.
Installation is the same as removal except you will have to punch a hold in the fire wall. There is already a perforated circle where you need to punch out. You should purchase the rubber gasket that keeps the water out as well.
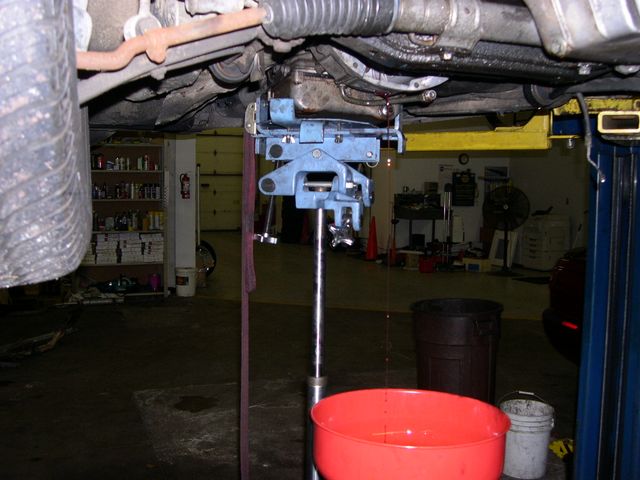
First removals (drive shaft and transmission cooler lines):
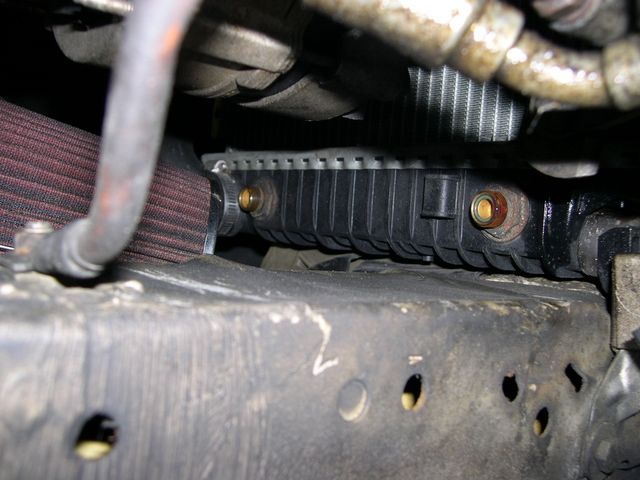
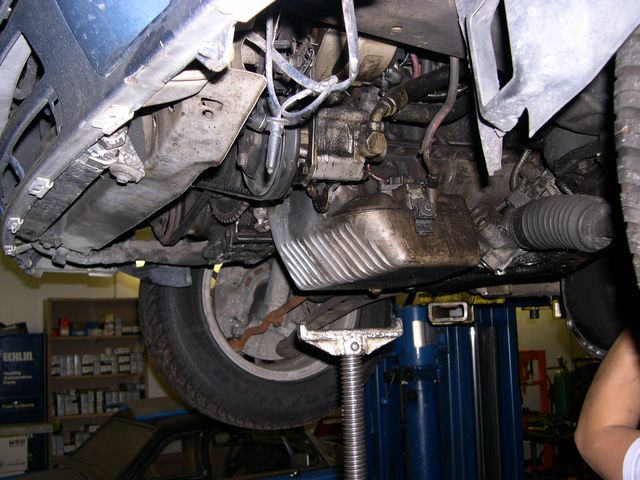
The transmission cooler lines are simple to remove. Just get the appropriate sized wrenches and remove them. Note that you can get a manual radiator for better cooling or just remove the lines from the radiator.
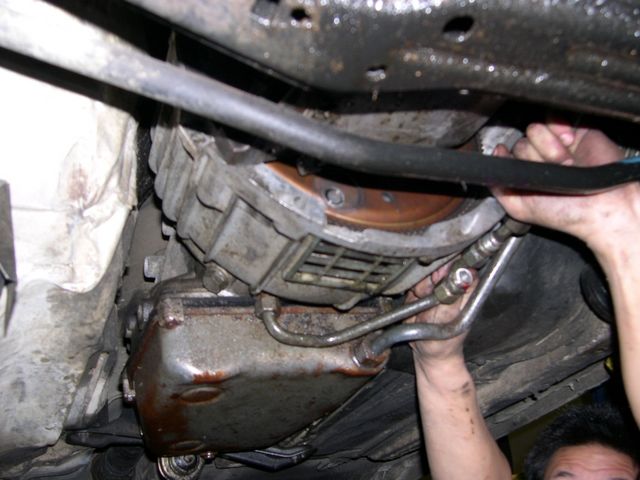
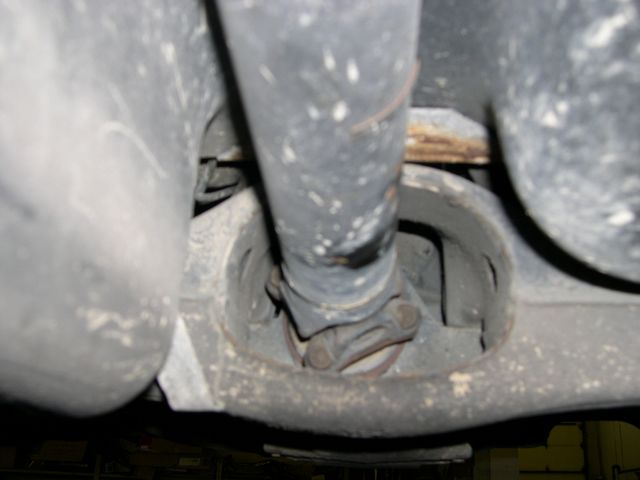
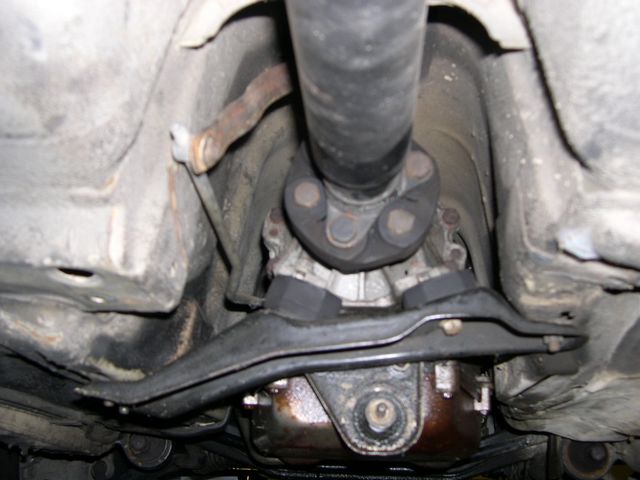
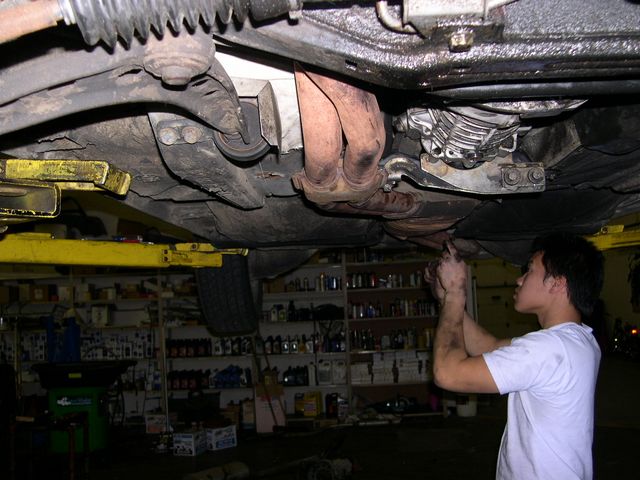
The drive shaft is a straight forward removal. First remove the exhaust and heat shielding (12mm for the exhaust and IIRC 10mm for the heat shielding). The drive shaft has four 13mm bolts connecting it to the differential, and six 15mm bolts/nuts connecting the drive shaft to the guibo to the transmission output shaft. I suggest dropping the transmission brace/mounts and supporting the transmission with a jack for easier access. Once those bolts are out, take a plumber’s wrench and loosen the collar in the middle of the drive shaft. This will allow it to compress and drop down. Take a 13mm wrench and remove the CSB and the drive shaft should easily come out.
Auto transmission removal:
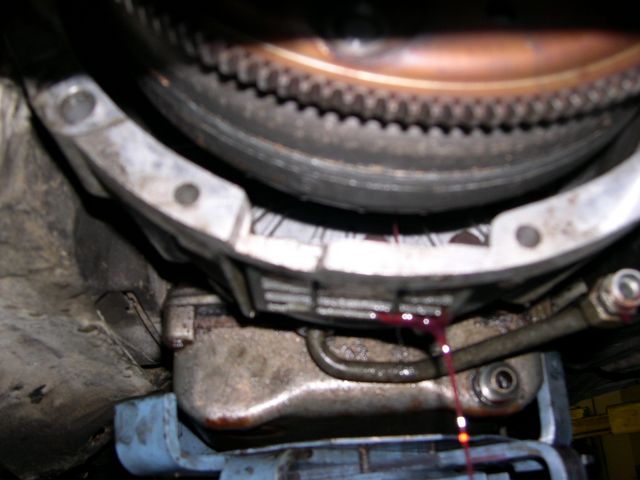
First disconnect the shift linkage that connects to the throttle body. It is the only one that goes off differently than the regular accelerator cable and cruise control cable. Then disconnect the automatic shift lever from the transmission. The rest is using various torx bits and extensions to unbolt the transmission. This won’t be easy. The starter has two torx bits with 17mm(maybe 15mm) nuts behind them. There are two hard to get bolts at the top of the transmission and a 10mm bolt on the passenger’s side that holds the shielding to the transmission. The transmission should come out relatively easily.
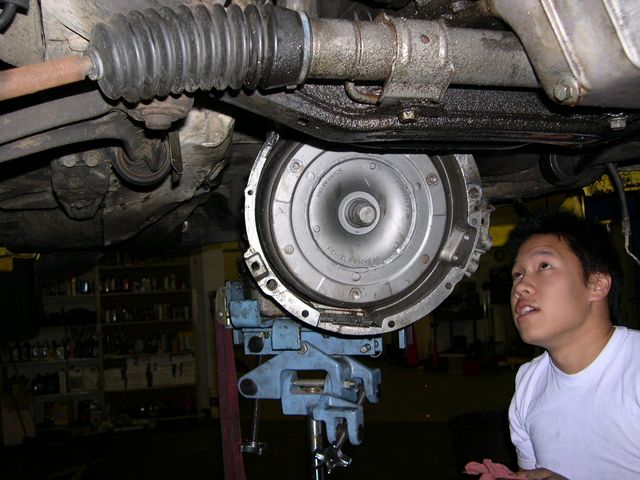
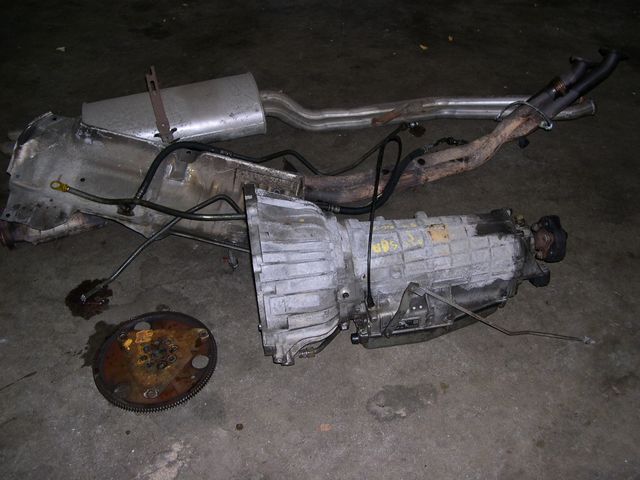
NOTE: the torque converter (big donut thing) MUST come out with the transmission or it will spill EVERYWHERE!
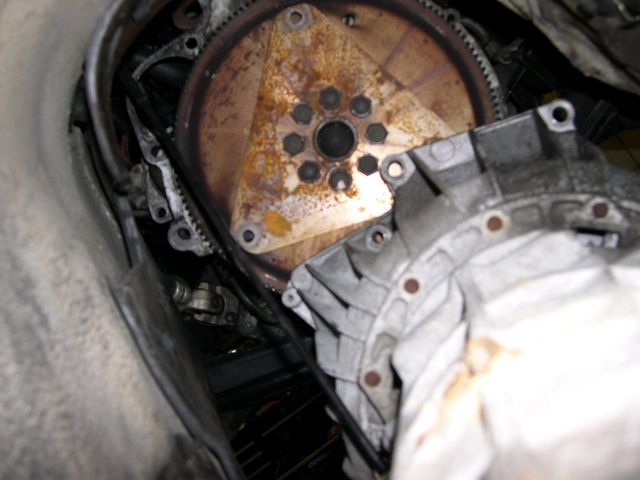
Behind the torque converter is the starter wheel. It is the version of the flywheel that the starter interfaces with in order to start the car.
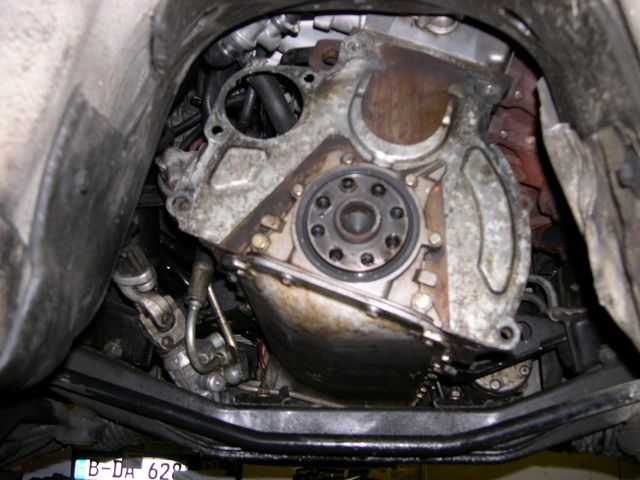
Once the bolts have been removed you will be left with a dust shielding. I recommend not taking it out just because it is already set properly to mount your starter. DO NOT reinstall without this piece. Your starter is aligned with this and will grind on the flywheel. Also, inspect your rear main seal for leaks.
Take a break! This has probably taken you an hour or two and that thing is HEAVY! Here is what we were left with.
Beginnings of reinstallation:
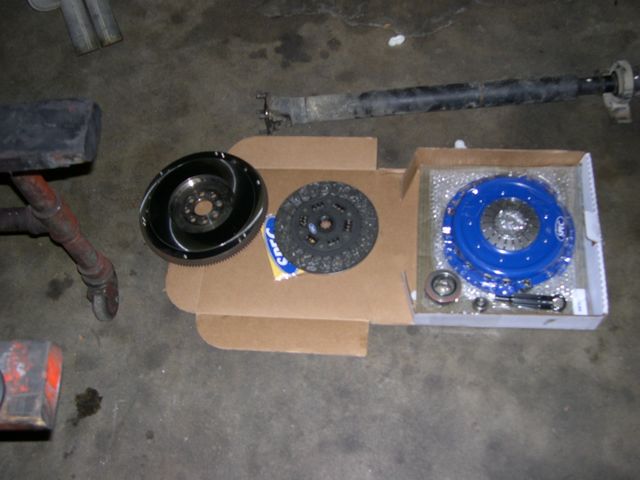
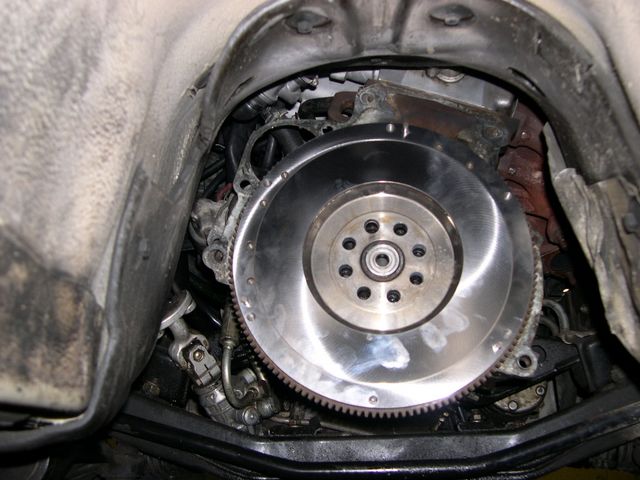
Get a good clutch kit. Reusing the old parts is iffy at best. You can use an old flywheel and get it remachined to accept a new clutch. If you dont, the old surface will prematurely wear away the clutch and won’t mesh properly. Remember to install a new pilot bearing. If you do the install from an automatic car, it shouldn’t have a pilot bearing. Simply grease it up and tap it in with a rubber mallet. and a 1/2inch socket or something of a similar shape. It needs to be as far back as you can get it or the transmission wont go in.
The flywheel installation is fairly straight forward. The flywheel bolts need to be bolted in a start pattern to 106nm (~78ftlb). The wheel only aligns one way because if a peg that sticks out and only fits into one hole. Ensure that you are using the right flywheel. Some models are single mass while others are dual. FYI the stock flywheel weighs 16lbs. You can get some shops to machine a few lbs off while they resurface it.
Use the clutch alignment tool to get the clutch and pressure plate on. This also will only go on one way. The torque specs are 24nm(18ftlbs) for Gr 8.8 bolts, or 32nm(25ftlbs) for Gr 10.9 bolts.
Install the slave cylinder if you haven’t done so already. I suggest linking in the slave line before you fully install the transmission so the line is easier to access. Once its up there, its really hard to get in a 10mm wrench.
Shifter Removal:
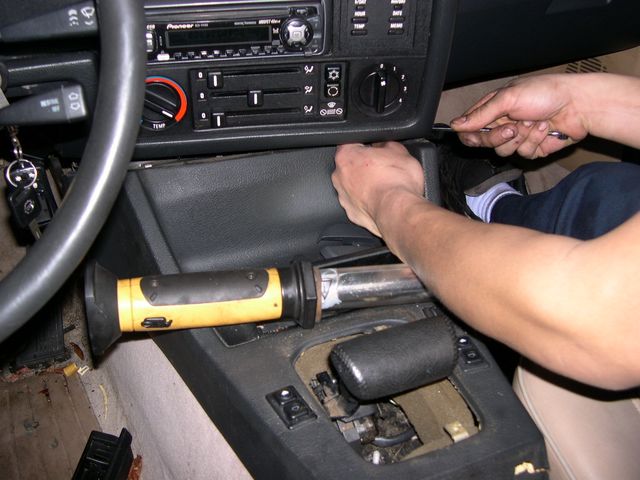
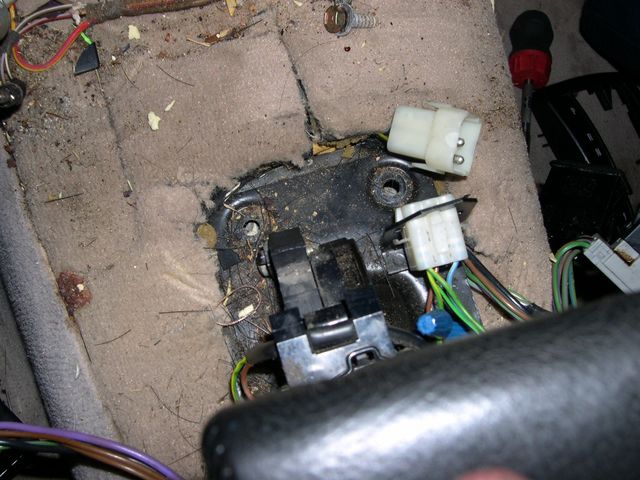
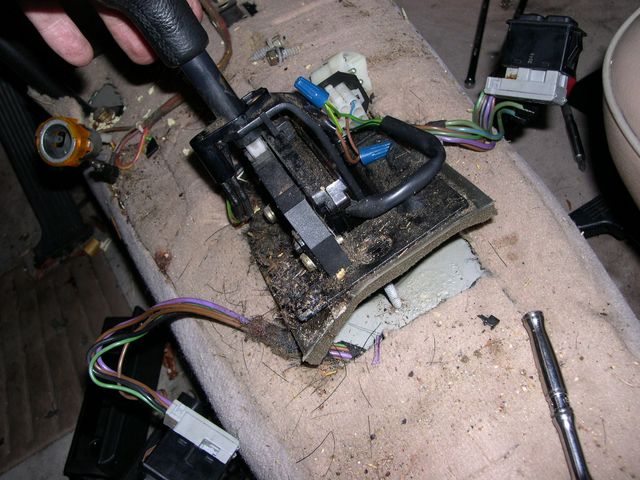
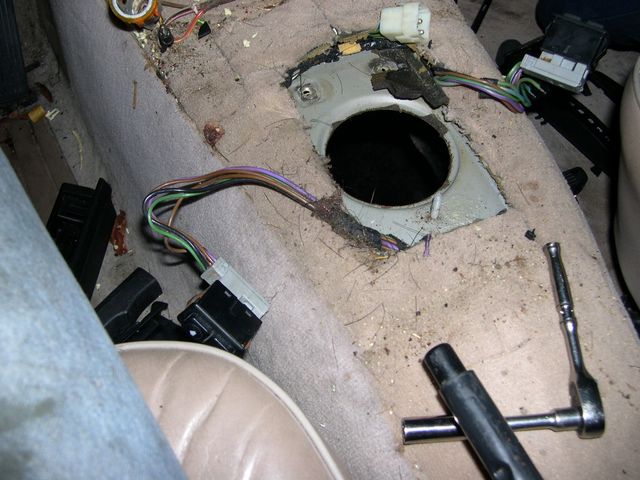
Hop in the car and pull out the shifter console. Theres two plastic tabs. One in each wheel well in the back. There is also an 8mm bolt in the cigarette container in the back seat. The E-brake handle pulls off with some effort and that piece should come out. There is an 8mm bolt under the shifter boot as well. We found some bolts under the center console that I had never seen before but it was quick work with an 8mm open ended box wrench.
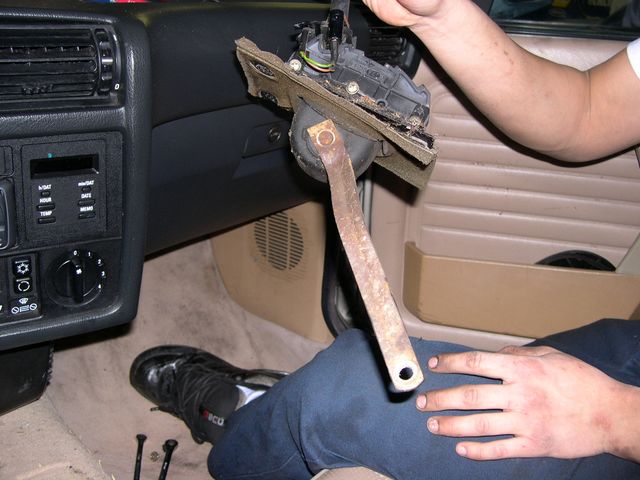
Once that is out, there are two 8 or 10mm bolts on the top of the shifter. Then the shifter should simply lift out after disconnecting the plug.
Install the transmission:
We had the shifter already on the transmission on install. It makes things much easier.
Install the transmission. We had to use a dead man to jack up the front of the engine to tilt it to accept the transmission at an easier angle.
Installation of the transmission bolts are the same as removal. This part will probably take you a while. Make sure to hook up the shifter, slave cylinder line, starter, and everything else are in. From here you can bolt back in the transmission brace/mounts and heat shielding. Then the exhaust! You’re almost there!
Wiring:
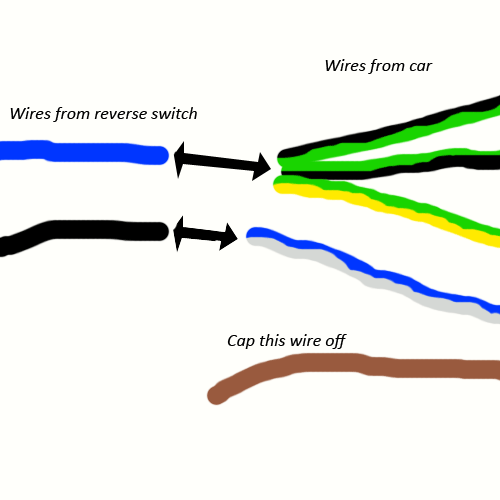
Here is the part most people get hung up on. Wire the two green/black wires and green/yellow wire and connect all of them to one of the reverse light wiring. The other reverse switch wire goes to the blue/white wire. Cap off the brown wire. This will get your reverse lights to work and your car to start.
This will not work for cruise control. I hear you need to separate the two green/black wires via a switch to tell the car you are in drive but I am not too sure about this. Who needs it anyway.
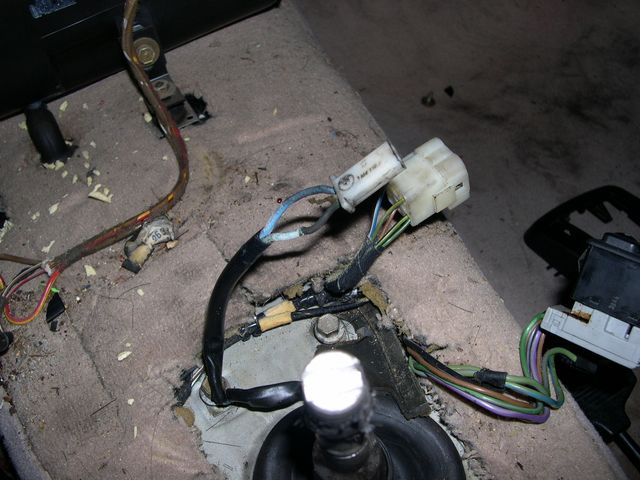
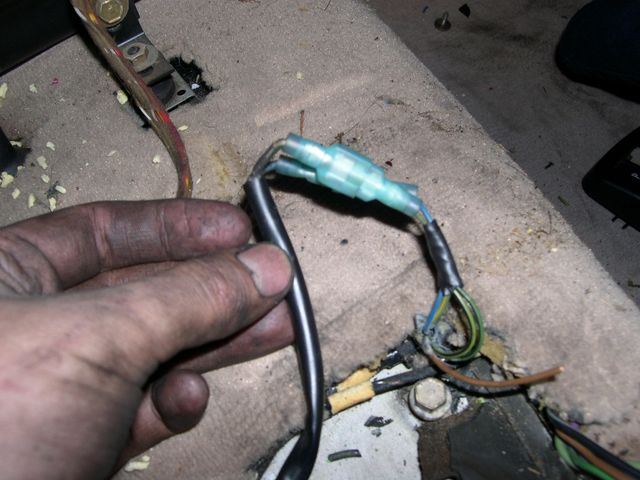
Congrats! You are done with your manual swap! Remember to be easy on the clutch for about 500 miles and to bleed it properly. Enjoy!







I was looking for a good read about this issue . Searching in Google I found this blog. After going over this information I’m very happy to say that I have finally found just what I was looking for. I will make sure to save blog and come again on a constant basis. Thanks! 🙂
Im glad I could help! Definitely keep posted I have idea’s to post some other quite interesting material.
I got e30 318is and I’d love to do it just reverse! I want automatic trans instead of manual…
Great job!
[…] here to read the rest: BMW E30 Transmission Swap Automatic to Manual | RTS – Your … tags: and-related, are-longer, automatic, cruise-control, drive-shafts, lever-from, only, […]
hey ive read this article a couple times and I could probably do the swap with my eyes shut but I am confused on the clutch pedal instillation. think you can help me out I reall want to do this to my e30 but that the only thing from stopping me. thanks.
Hi where are you located because i want to know if you can swap by e30 automatic to manual.
Thanks to give back response
Did anyone have any problems with they’re odometer not working after the swap or is this just my situation? Thanks for any response
no one answered your question Shane and this is years late so im just posting this for posterity. The odo/speed indicator is located in the rear diff. if you have an E and/or are swapping to a different ratio on the rear end make sure you compensate for your speed sensor. different size wheels can impact this as well. since its only your odo not your speedo, its for sure that the gears in your cluster turned to gum, which they tend to do after this many years. you can find replacement parts online if you just google e30 odometer gears, its either vdo or motometer branded, order whichever you have and its a pretty easy and painless process to fix.