
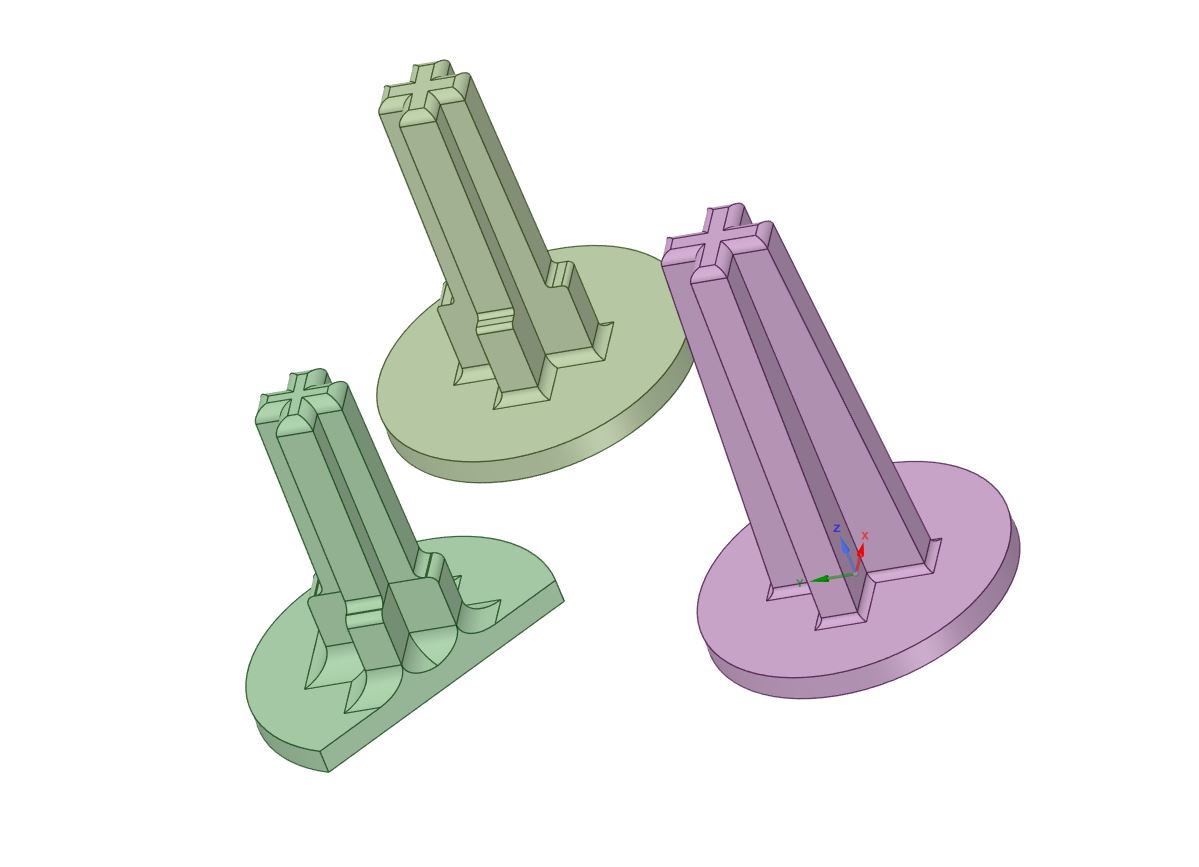
Print them on their side:
This matters more than anything else here. Do not print these standing up.
A 3D print is always weakest at the layer boundaries. Print a pin upright and every layer line runs straight across the shaft, at 90 degrees to the load.
Laid on its side, the layer lines run along the length of the pin instead of across it, so the load is carried through the material rather than through the bonds between layers.
Two of the pins are the same – except 1 has a flat for easier printing. It gives the part a proper face to sit on so it lies down flat on the bed, with minimal supports and without fighting it.
Material – use a very hard TPU:
Print these in hard TPU. 64D shore is the minimum worth bothering with, 72D is better.
The instinct is to reach for something strong — PLA, PETG, ABS, or one of the carbon filled filaments. Don’t. Strength and toughness are not the same thing, and this part needs toughness. A rigid filament is stiff and takes a lot of load right up until it doesn’t, then it lets go with no warning. That is precisely the failure you are trying to fix: the original BMW pins were strong enough when they were new, they went brittle, and brittle is what killed them.
A high shore hardness TPU is still rigid enough to locate and retain the tweeter properly, but it flexes and absorbs the shock instead of cracking when the panel moves or when someone leans on the trim. Much below 64D it starts to get too rubbery to hold the tweeter securely, which is why 64D is the floor and 72D is what I would use.
Attachment
Use JB Weld Plastic Bonder, it sets in 6 minutes and holds very firmly.
The files:
Right Click Save-As

Recent Comments