Courtesy of http://www.billswebspace.com/BMWE30DashboardSwap.htm or maybe http://home.comcast.net/~cdeegan9/dashboard/dashboard_1.html not to sure.
As always if you have any suggestions for other well put together DIY email me at rytis@rtsauto.com
1. Important: Before beginning, disconnect the battery negative cable.
Take time to label all the wires, connectors, small parts while removing.
2. Start at the driver’s side by removing the steering wheel…
Gently pry out the center cap:
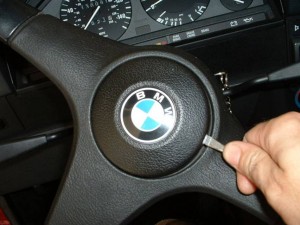
Scratch an alignment mark across the steering wheel shaft and the steering wheel so you can reinstall the steering wheel in the correct spot:
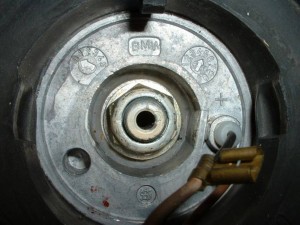
With the steering wheel locked, remove the nut and washer (22mm socket). Then unlock the steering wheel and pull it off.
3. Now remove the instrument cluster …
Remove the kick panel under the steering wheel by turning the three plastic screws 90 degrees (two on the left side and one on the right side of the steering column), then pull down and out.
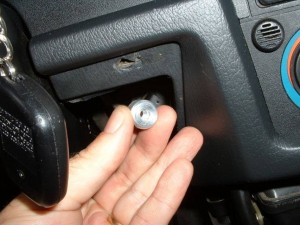
Remove the trim panel above the steering column. Reach up under the panel and remove two knurled nuts. One is just to the right of the foglight switch and the other is at the right side of the panel, to the right of the steering column.
With the nuts removed gently pry out the panel. It may hang up on the top of the steering column, just keep wiggling.
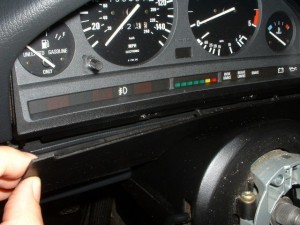
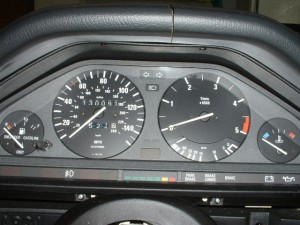
Remove the trim around the instrument panel. Two small screws at the top, above the gauges, then four more at the bottom to either side of the steering column.
Two more screws hold the instrument panel itself in:
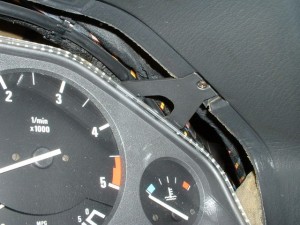
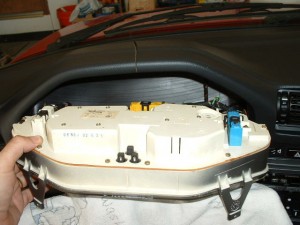
You can now pull out the instrument panel. Be careful with the A-shaped “ears” in the picture above, they are easy to break off. Tilt it forward to access the connectors.
I put a rag on the steering column to avoid scratching the instrument panel while removing the connectors.
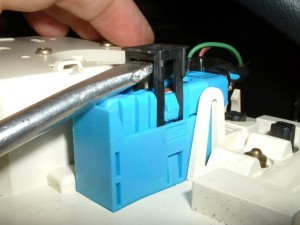
To disconnect, pry up the black plastic clips then pull out the connectors.
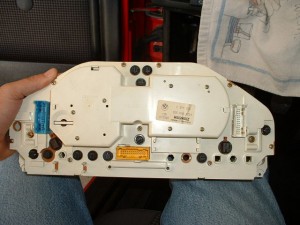
Here is the rear of the instrument panel, with all the bulbs accessible. If you have any burned out or dim bulbs, now is the time to replace them.
The larger sockets below and inside of the blue and white connectors hold the general illumination bulbs. These two bulbs light up your entire instrument panel. These are 3W European style bulbs available at your local Pep Boys/Autozone/etc.
The dozen or so smaller bulbs are for the indicators. The bulb and socket are one piece, I have not been able to find these anywhere other than my BMW dealer.
There is also a brass nut at the bottom left of the blue connector, this is the ground connection for the water temp gauge. Make sure this is tight.
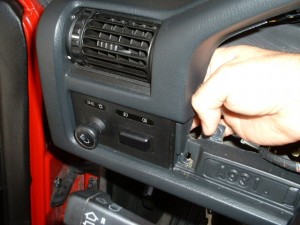
4. With the instrument panel out, you can remove the headlight/foglight switch. There are two nuts that hold it in, one at each side.
5. Remove the center console:
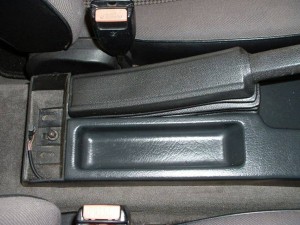
Remove the rear ashtray and the 10mm plastic nut holding down the rear of the console
Lift up the parking brake lever, pull the boot up off the console while pushing towards the rear, and slide the boot up off the parking brake lever. You should now be able to remove the rear console section.
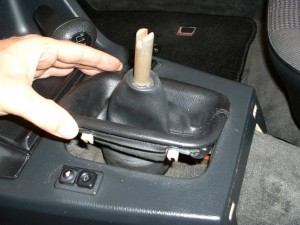
Remove the shifter knob by pulling straight up (may help to put in second gear). Don’t smack yourself in the forehead when it pops loose !
Then squeeze the shifter boot at the sides and remove.
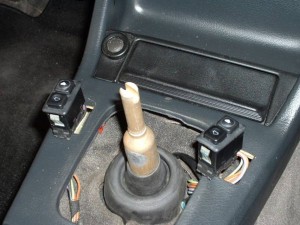
Pop out the window switches and unplug.
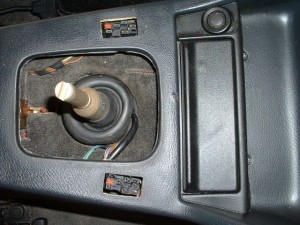
Remove the two screws holding in the front ashtray, then remove the ashtray. Disconnect the wires from the lighter and pull out the small light bulb. Remove the 10mm plastic nut at the rear of the shift lever (red stud in picture):
Remove the large plastic screws from the forward part of the console on the passenger and drivers sides (turn 90 degrees then pull out).
There is one more screw (8mm socket) holding the forward console section to the center dash heater/AC panel, at the top right of the console storage tray.
You can now remove the forward console section.
6. Remove the glovebox …
Pull the pins out of the two straps inside the glovebox and disconnect the flashlight socket: Drop the glovebox down and remove the screws from the hinge at the back of the glovebox. Remove the glovebox.
Remove the upper glovebox trim piece. There are 2 screws in the top lip (upper left and right in picture) and a plastic thumbscrew on the console side:
Drop it down and remove the glovebox light connectors:
Remove the left side glovebox trim piece:
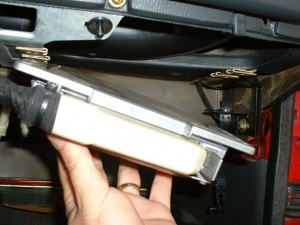
Remove the Motronic control unit (no need to unplug it, just remove the four screws and let it hang down):
Remove the right Motronic bracket… the two screws on the bottom attach the the dashboard to the passenger side of the body.
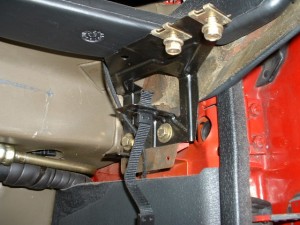
Remove the left Motronic bracket (silver thing) held in by two screws at the top of the glovebox opening and one screw through the body-color bracket at lower left:
7. Heater/AC panel …
Start by removing the stereo. I have an aftermarket stereo with special puller tools; the standard BMW stereo requires a Special Tool to undo the fasteners on each side. It’s like an allen wrench with five sides. You can approximate this by grinding down a small Allen wrench :
Pop out the switches above the stereo and unplug. Up inside the top of the switch holes are two small screws that hold the top of the panel in. Remove these:
Pull off the temp and blower knobs and the three knobs from the vent sliders. There are two more screws holding the panel in, under the bottom front roughly under the temp and blower knobs. Remove these:
Carefully pull off the cover around the vent sliders and remove the four screws underneath. Pop out and unplug the AC/Recirc switch:
Tilt out the panel and remove the four screws holding the clock or onboard computer. Disconnect the plug from the back and remove it:
The entire panel should now come out, leaving behind the vent/temp controls:
8. Miscellaneous bits …
Disconnect the ABS computer from the right side bracket (This is on the driver’s side to the left of the steering column). There is also a metal tab from the dashboard which connectes here:
Disconnect the ABS computer from the left side bracket. Remove the bracket and two screws (these two screws hold the dashboard to the left side body):
Disconnect the various wiring harnesses from the cable holders in the dashboard. There are several up under the top of the dash, from the instrument panel area over to the glovebox. Try to remember how the wires are routed over the instrument panel, this area is a tight fit. Leave the vents and ducts in place.
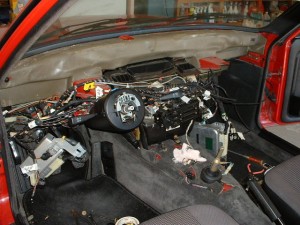
9. Time to remove the dash ! It will be very helpful to have an extra set of hands to help with the removal and installation.
At this point it should only be held in by clips at the A-pillars and a tab at the center just under the windshield.
You can push down the ends of the dash to free it from the A-pillars. Be careful of the metal clips, they are sharp and can scratch the trim . Once I got them loosened I covered them with masking tape. Carefully loosen the dash and look for any parts still hanging onto it.
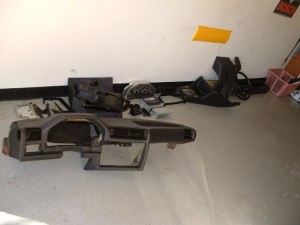
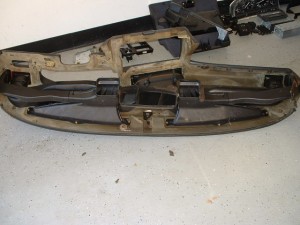
The hard part is wiggling it loose past the steering column. I removed the old dash out the passenger side
10. VIN plate
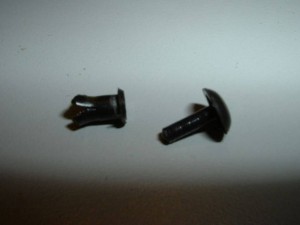
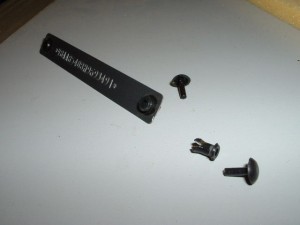
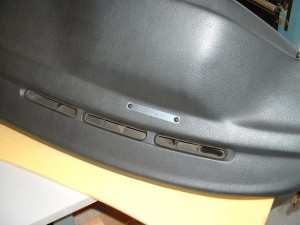
You’ll want to swap your VIN plate from the old dash onto the new one. It is held in by two two-piece fasteners similar to trim clips, except that the top of the inner pin covers the outer pin:
I carefully pried out the inner pins using a razor blade to get them started, then pried out the VIN plate with the outer pins still attached. Repeat the same process on your old dash :
Install the old VIN plate into your new dash. I had to clip off a couple of the pronged parts on the outer pins to get them to go in properly:
11. Air vents and ducts.
Here is the “new”dash ready to go in. Mine came with the vents and ducts, if yours does not transfer them from the old dash. It is much easier to do it now than try to reassemble the ducts with the dash installed. This way you just need to line up the three ducts in the center on top of the blower housing.
Note the spot on the front/center of the dash where the tab under the windshield slides into.
12. Install the new dash.
Before installing the dash you should replace the weatherstripping on top of the blower housing where the vents connect. If it is anything like mine, it has crumbled to nothing over time.
When reinstalling, cover the metal clips on the ends to avoid scratching anything. Bring it in through the passenger side and over the steering column. Get the center of the dash on the tab and lined up on the blower housing, then connect the clips to the A-pillars. Reinstall the brackets with the two screws on each side of the dash.
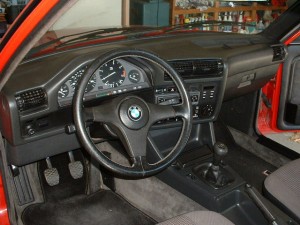
Here is the new dash fitted into place:
13. Put it all back together.
As the saying goes, “Installation is the reverse”.
The only fastener needing special torque is the steering wheel nut, 58 lb-ft. Technically it should be replaced with a new one, but some Loctite should take care of it.
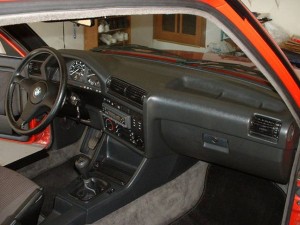
Here is the finished product:

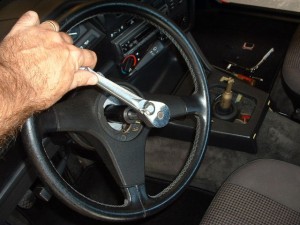
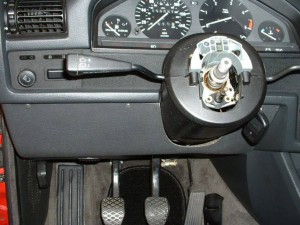
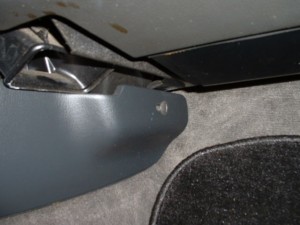
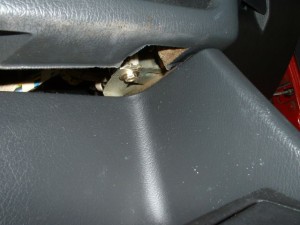

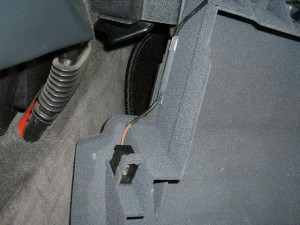
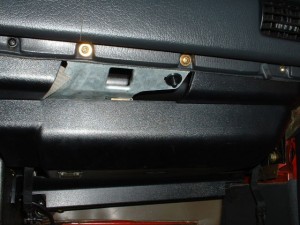
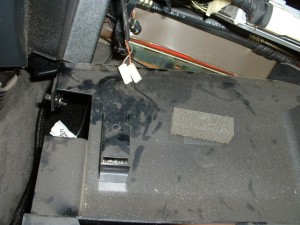
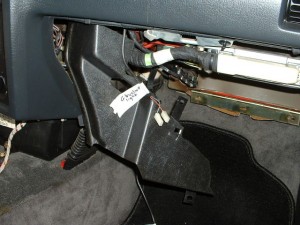
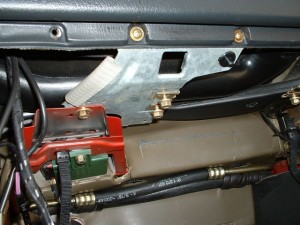
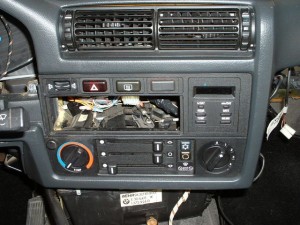
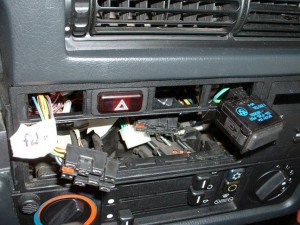
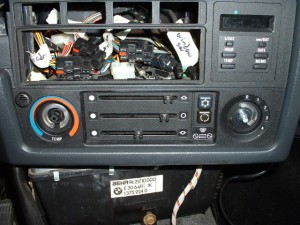
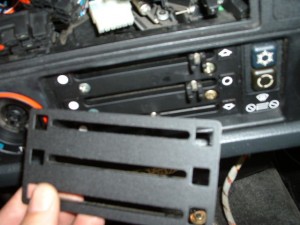
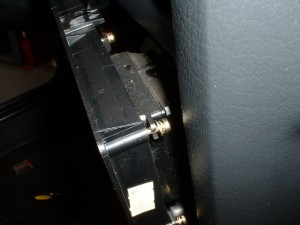
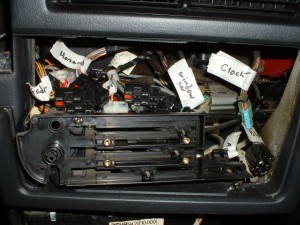
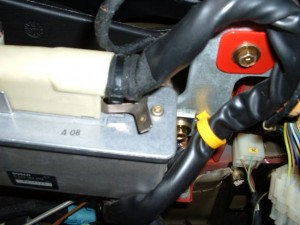
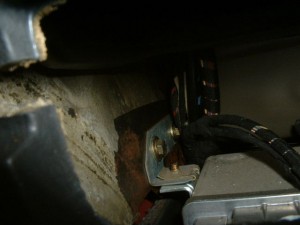
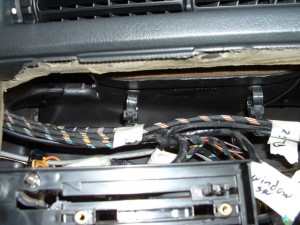
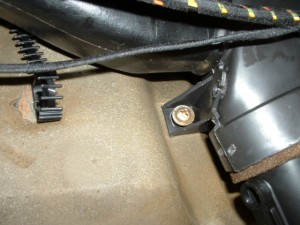
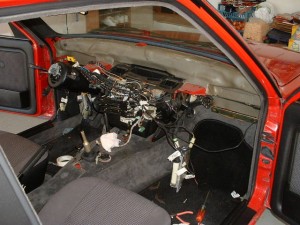
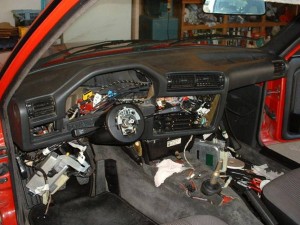

My wiring to the left of the instrument area was routing over the top of the air plemun(black plastice). I had to pull the left vent out first and then feed the loom through the gap between the removed vent and the plenum.