
Got this courtesy of http://www.theymightberacing.com/ShopTech/FuelBrakeLineFabrication.aspx we all know if you own an E30 in Canada or anywhere that snows and/or uses salt on the roads, your fuel lines/brake lines will rust after winter driving (especially 20+ years of it) in my case I replaced fuel lines on my 1987 Bmw 325i back a couple years ago (car is now sold) and mainly did it by hand, my advice is follow this DIY :).
How to fabricate hard brake and fuel lines
Thre comes a time during the restoration or repair process when you’re going to hav to fabricate your own brake or fuel lines. A pair of great examples are my Studebaker Champion and Jensen Healey. Those two cars just do not hav pre-made tubing available anymore, and the used parts are rotting away rapidly.
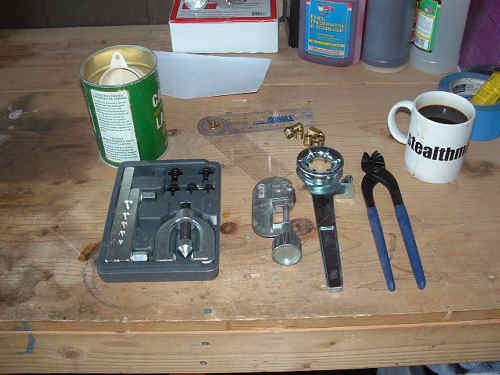
In the image above you see the tools of the trade when it comes to measuring, cutting, bending and flaring your own lines. Clockwise from the top we have a locking protractor, line (or tube) nuts, coffee, two different styles of tubing benders, a tube cutter, a flaring kit and sand. Not pictured are string/twine, tube, and tape.
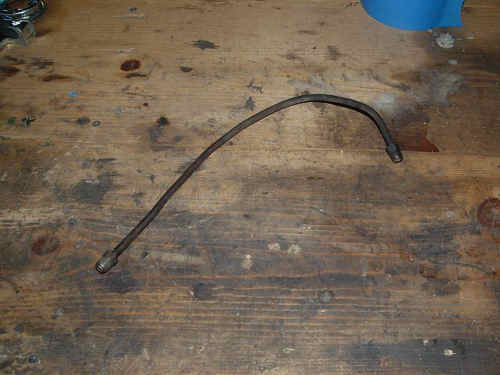
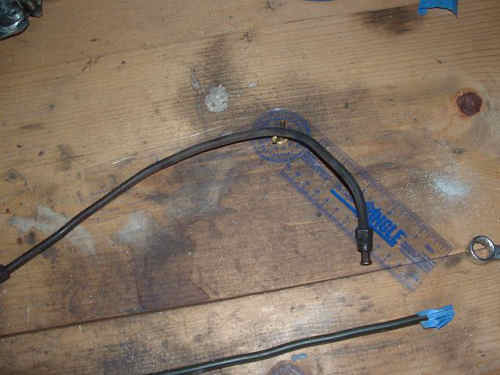
Here you see the first piece of tubing we’re going to fabricate. This piece is 1/4″ diameter tube that connects the fuel pump to the carburetor on my 1953 Studebaker Champion. We will be using this piece as a template to create the new line with fittings.
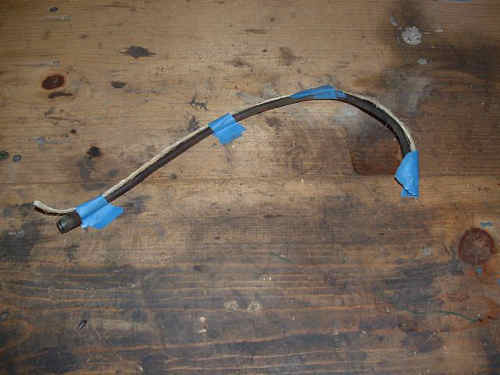
Before you can start working new tube you need to determine how long a piece of stock you’ll need to work with. what I’ve done here is used a piece of twine, taped at the bends, to determine the length of the tube. Remember that we’ll be flaring the line (in this case a double flare) so you’ll want to leave a little extra twine at both ends to be flared.
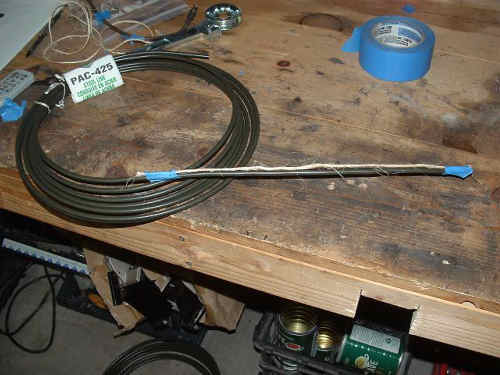
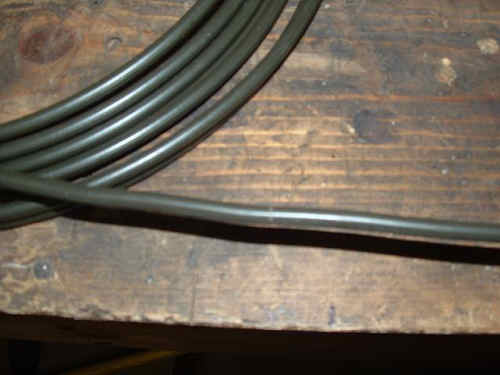
You can buy your stock in straight short pieces or longer rolled pieces. I prefer to buy it rolled as it’s more economical. Before you tape off the twine on the fresh tube stock make sure to straighten it carefully by hand.
Here you can see where I’ve etched the tube stock to identify where I need to cut it.
With the cut marked on the tube, set the pipe cutter in place and tighten it down snug (do not over tighten). To use the tube cutter appropriately, spin it once around the tube, then tighten the knob. Repeat this until the tube is cut. You’ll get faster with practice.
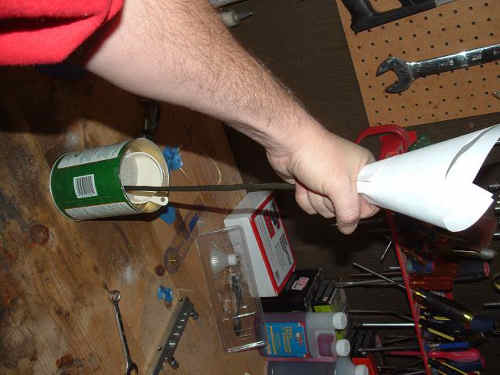
Tube, particularly soft types like copper and steel crimp very easily. Tape off one end of the tube stock. Fill it with sand. Make sure to tap it a few times to compact the sand and fill the spaces as best as possible.
Here’s the tube stock cut to length, filled with sand, and both ends taped off all ready to bend.
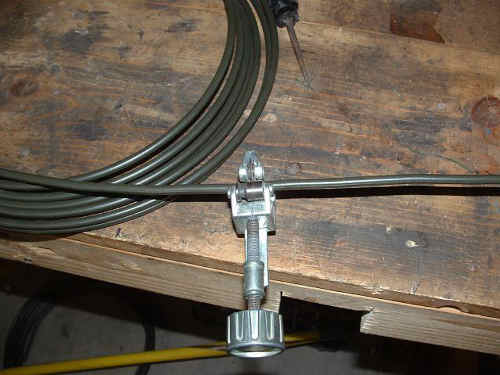
Once you’re ready to bend you need to ensure that you know how much of and angle you need to bend to. I use the locking protractor to determine the angles. Remember that tube exists in three dimensions, so don’t just measure angles in two dimensions. The nice part about using twine for length and a protractor for angle measurement is that you can do all of this in situ on the vehicle, and then fabricate everything on the workbench.
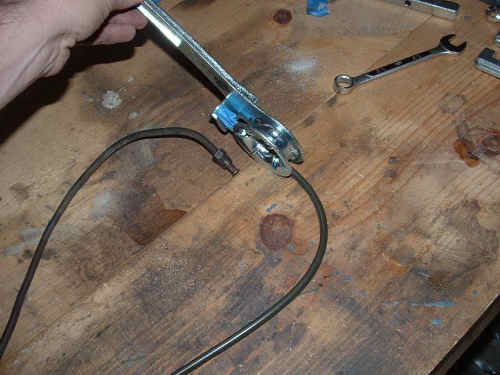
Here you can see I’ve captured the pipe in the bender and am preparing to make a slight angle bend at the top of the tube. I already made the larger radius bend by hand.
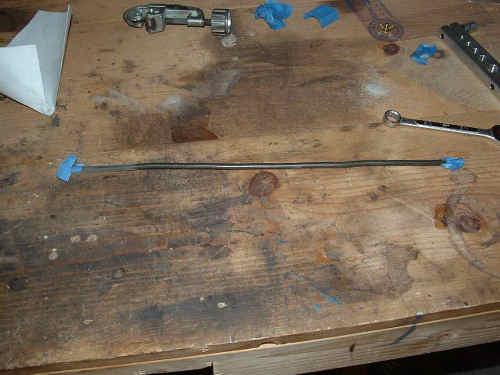
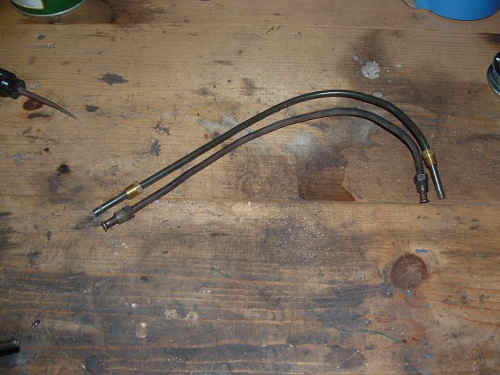
Now I’ve laid the new and old tube side by side for comparison purposes. I managed to get the same overall dimensions and curvature with a few less bends, there’s also not 50 years of dings and accidental bends in the new line.
Always, always, always fit your line nuts before even thinking about the flaring tool. It may seem silly, but once you’ve accidentally flared a bit of line without having the nut in place (and it will always be the most complex set of bends you’ve ever done perfectly) you’ll learn how frustrating it is to hav to reproduce a piece.
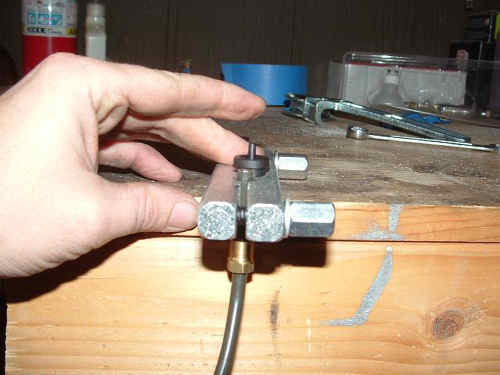
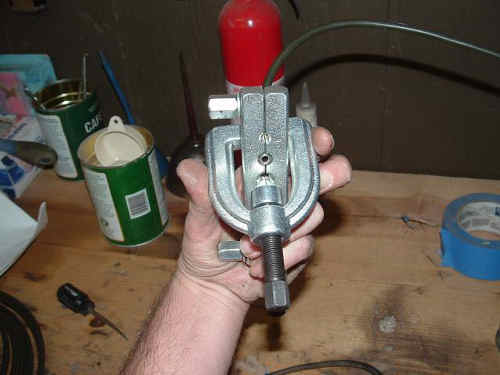
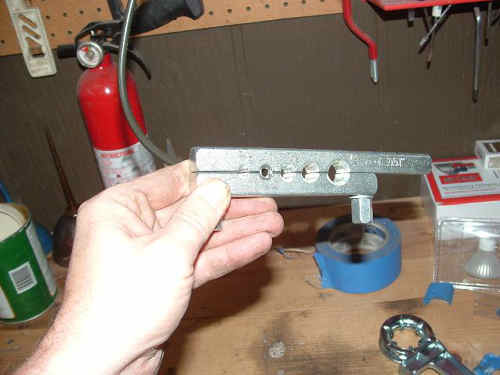
As I mentioned earlier, this tube has a double flare. So, first you must set the line into the flaring tool with the appropriate amount of overlay. The black double flare bit specifies how much the stock should stick out from the flaring tool.
Once the tube stock is tightned and in place, reverse the double flare bit and insert it into the tube stock.
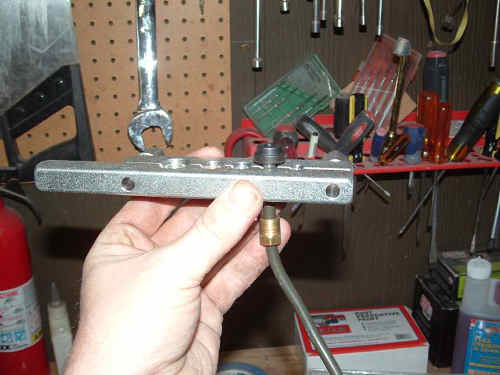
You’re then ready to set the flare inplace and tighten it down to flare the line.
After th first flare has been created by tightening the flare into the stock, you need to remove it to perform the double flare. Here you can se the tube stock with the double flare bit removed ready to reset the flaring tool to finish the second flare.
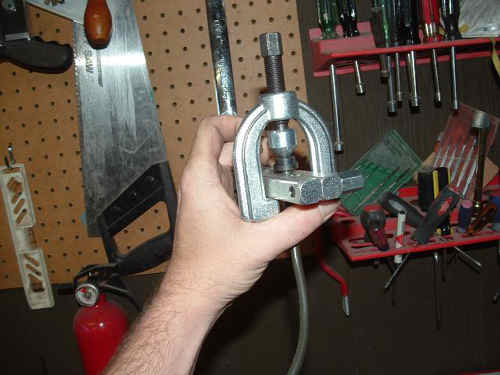
The second flare has now been completed as you can see in the picture. It’s time to remove the freshly flared line from the flaring tool. Repeat this process for th other end of the line.
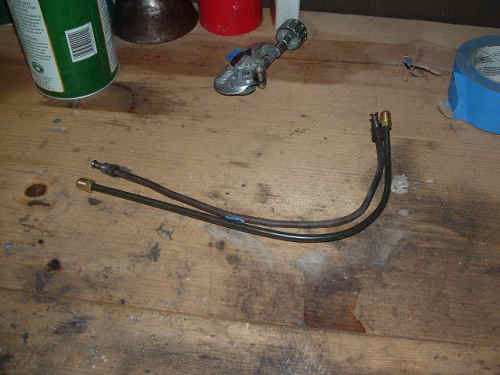
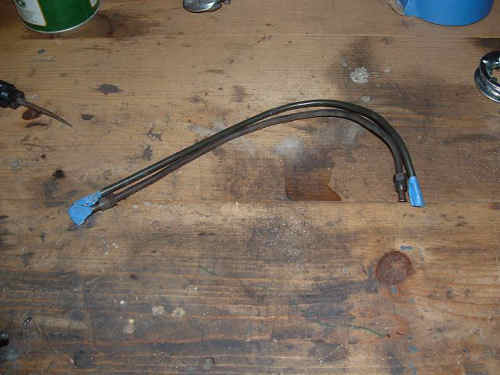
We’ve now finished our double flared, double ended fuel line with multiple bends. I’ve taken a picture of the new line next to the old one. You can see that they are very close in length and shape.
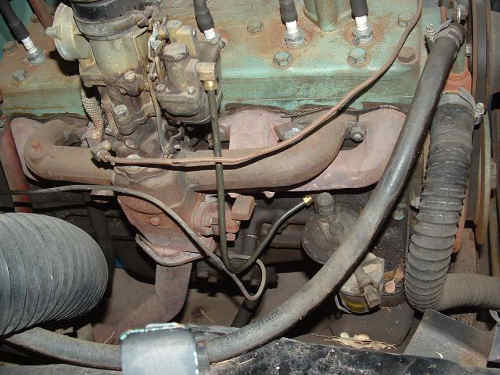
Finally we need to take it out and fit it to the vehicle. This is the moment of truth of the work. Honestly, these things rarely fit perfectly. You will likely have to adjust as you install. In this case, it fit on the first try, and only needs final tightening and it’s ready for use!
Whether the line is long or short, steel or stainless, brake or fuel, the basic techniques outlined here are the necessary fundamentals to create any basic hard lin that your restoration needs. Finally, I’ve been noting that unfinished line is becoming harder and harder to find. Autozone stocks 25 foot coils of line. The best source for line nuts and fittings has been Ace Hardware.

Amiable fill someone in on and this mail helped me alot in my college assignement. Gratefulness you as your information.
I liked this and other blog posts on your blog so much that I have subscribed to your blog’s RSS feed. Keep the good work going by posting informative posts. Thank you.
THanks for the info